
Android is a powerful operating system that powers more than 2.5 billion devices that includes, smartphones, tablets, smart televisions, IoT devices, etc. The Android OS is not limited to just run on these devices. A special kind of software known as an Emulator can also run the Android OS on your Windows PC.
Android emulator is a special kind of software that creates a virtual environment on your PC suitable to launch and run Android apps. Emulators are used by developers, testers, and even users who wish to develop, test, or run their favorite Android apps on their Windows PC.
As an Internet Marketer, running Android on a Windows Server is highly popular to get access to the Google Play Store from the confort of a desktop based devise.
Running an Android Emulator requires a significant amount of computing resources and a graphic card to support virtualization. Therefore, for the proper use of such solutions, we would recommend as entry level a Windows VPS Armored Division (3GB and 3 Cores) as minimal specifications to run such solution.
All of this is easily available on the majority of the modern home computers, however, things are not this simple if you wish to run an emulator on a VPS. This guide was performed on a Windows Server 2016 environment.
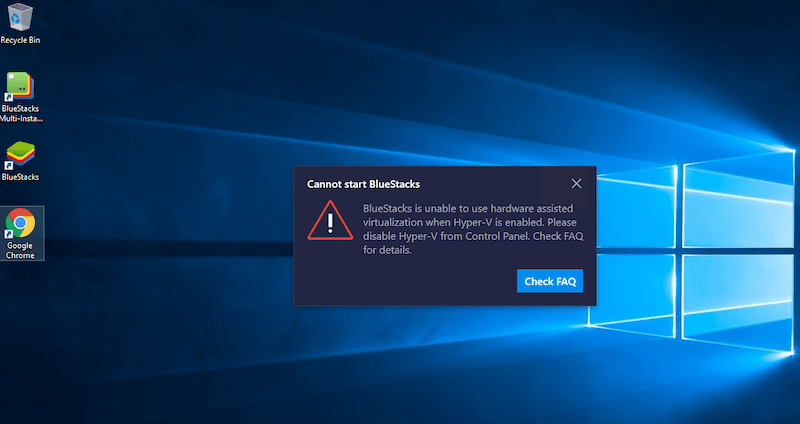
Below is the example, that shows an error message when an user tried to launch BlueStacks 4 on a Windows-based VPS.
Why Do You Need An Android Emulator?
Android Emulators serve a wide range of use-cases. Primarily they are used to provide a virtual environment that mimics the behavior of an actual Android device. This virtual environment is ready to run Android applications and can also interact with the external environment of your computers such as the camera, Bluetooth, and file system.
Developers use Android emulators to test their apps while they are not ready to be published on PlayStore. These emulators come in handy for testing these applications as they eliminate the need for an actual device and a large number of test users can test using a similar environment.
A large number of people also use Android emulators to run their day-to-day apps like WhatsApp, Facebook, on their computers. The most popular reason to install BlueStack on a VPS is to install Instagram in order to conduct Instagram Marketing activities and such guide is the perfect way to do that.
Install Android Emulators On Windows Server 2016
As promised earlier, I will show you how two different Android emulators can be used on a VPS without any GPU running Windows Server 2016. Without further ado, let’s get started!
1) BlueStacks 3
BlueStacks is one of the most popular Android emulator used by millions of users. Due to its popularity, it is first on the list. However, the latest version of BlueStacks i.e. 4 requires far more resources and will not work on our VPS. Therefore, we will be installing the older version instead.
Step 1: Download and Install BlueStacks
In the first step, we need to log into our remote Windows Server 2016 and download the setup file for BlueStacks 3. Once the setup is downloaded, double click on the setup to run the installer.
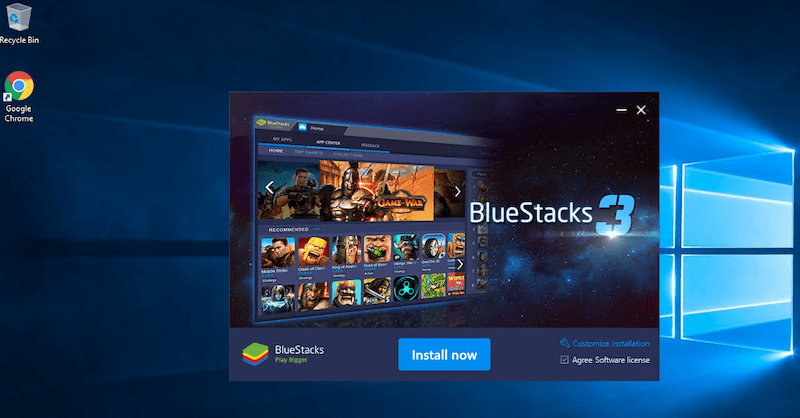
Click on ‘Install Now’ to initiate the process. It will first extract the files and then the engine. This process can take several minutes depending upon your VPS resources.
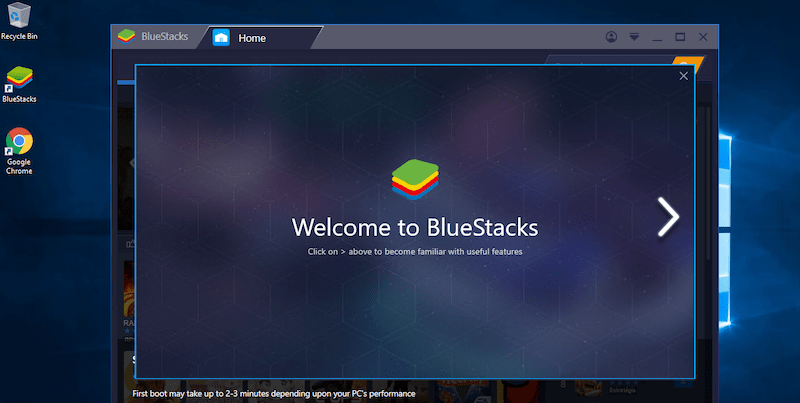
Half-way through the installation, a welcome screen prompts, you may close this screen to proceed with the rest of the process.
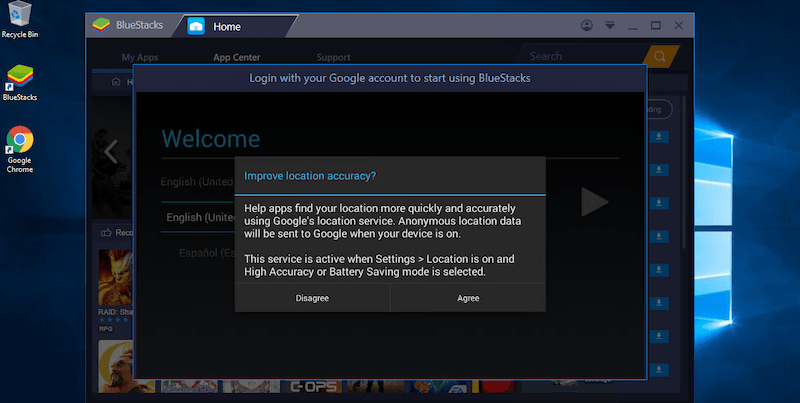
Once the installation is completed, you will be asked to allow location access. At this point, you may either agree or disagree. We have successfully installed BlueStacks, in the next step we need to configure it before actually using it.
Step 2: Configure and Run BlueStacks
Just like any Android device, BlueStacks also require you to log into your Gmail account.
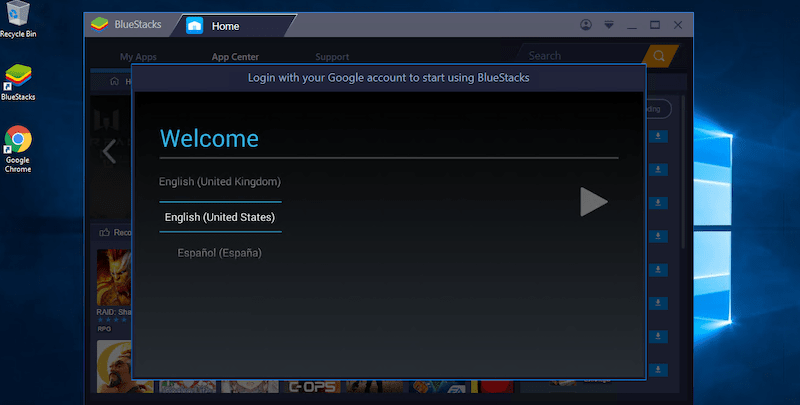
After selecting the desired language, follow through the process, and log in with your Gmail ID to access PlayStore.
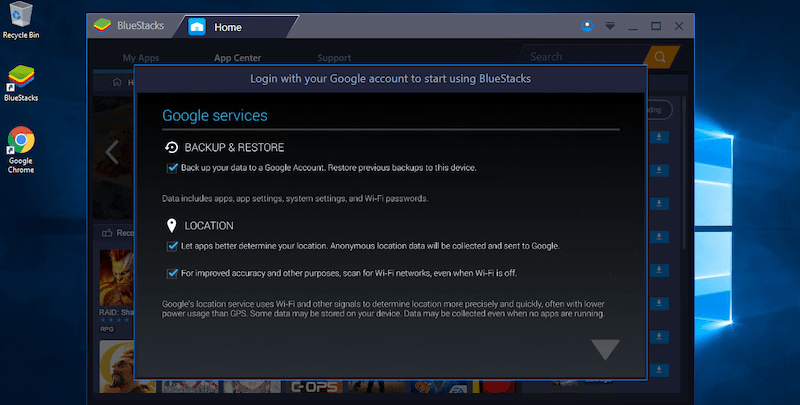
After signing in, BlueStacks will ask for permissions like backing up data to Google account and accessing the location. At the end of the process, define your device name.

At this point, we have successfully installed and configured our Android emulator. To test the emulator, let’s go ahead and download an application from Google PlayStore.
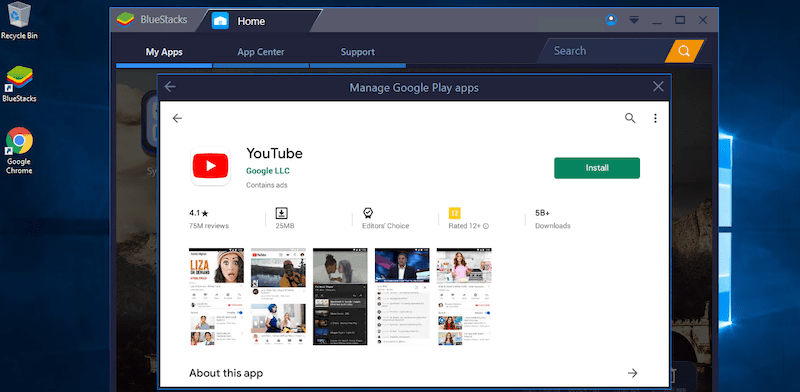
For the demo, I will install YouTube application from the PlayStore.
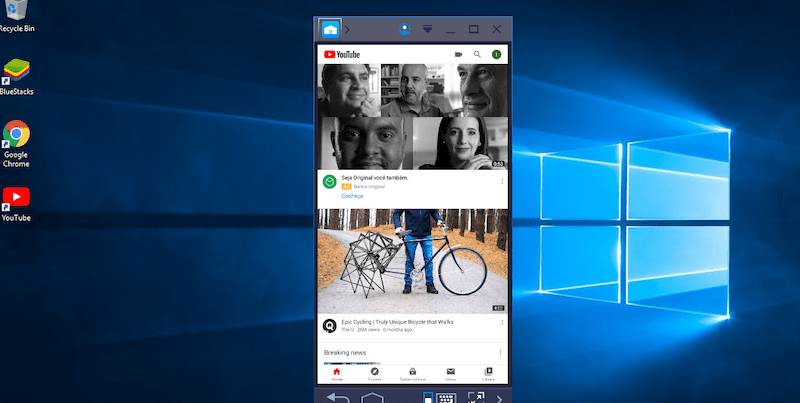
Voila! YouTube has launched successfully. You can now install your favorite application or test the ones you are developing using BlueStacks Android emulator on your VPS.
2) SmartGaGa
SmartGaGa is another Android emulator that can be used on a Windows Server 2016. Simply download the setup file and run it for installation.

Once the download is completed, click on ‘Install Now’ to initiate the installation process.
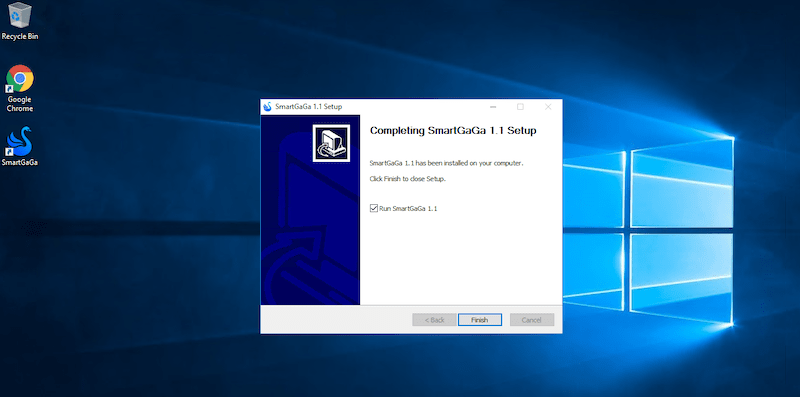
When the installation is completed, click on the ‘Finish’ button to launch the emulator.
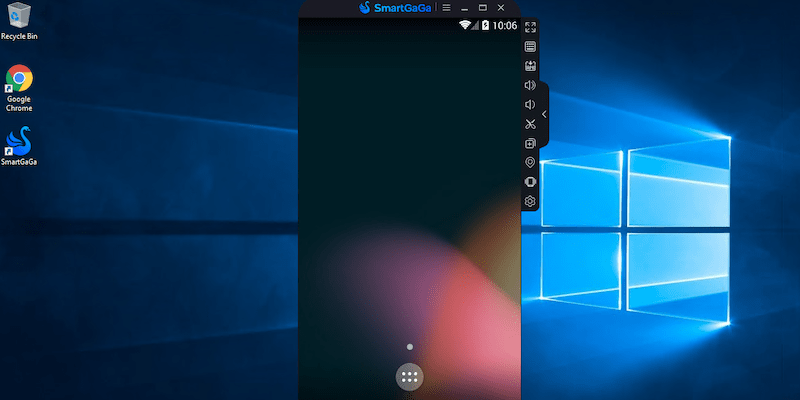
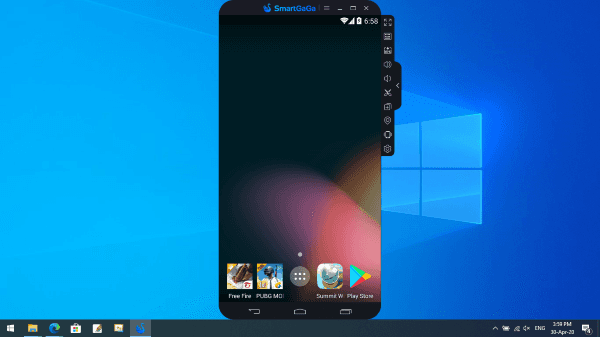
It is a lightweight emulator for took only a few seconds to boot up. The rest of the process remains the same, sign in with your Gmail ID to access PlayStore.

I am already signed in, let’s go ahead and download our first application.
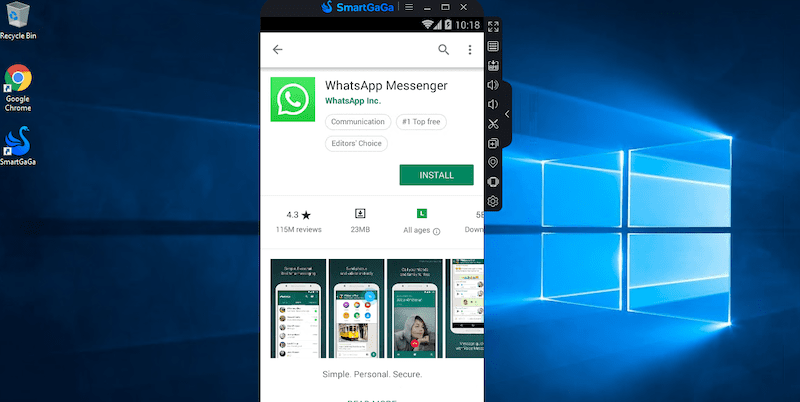
This time I will download WhatsApp directly from the PlayStore.
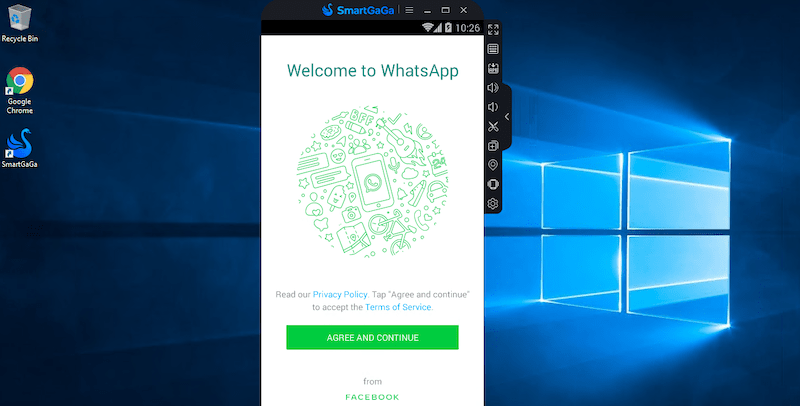
WhatsApp app is successfully installed on our Android emulator.
Final Thoughts
Today we learned how to install and run Android emulators on a Windows VPS with no graphic card running Windows Server 2016. We also saw how useful Android emulators are app development, testing, and running them on a pc. Now its time for you to try it out and share your experience with others.


Thanks fo the info 🙂