
A website is a great way to introduce your services and portfolio to potential clients. In today’s world, a website is a must-have, as searches for any services take place on the net, where you can not only find out everything in detail but also compare different service providers to choose the best option.
We have prepared for 12 detailed steps and professional tips on how to create a photography website using image manipulation services. You will appreciate our guide as you don’t need special programming knowledge to create your site, but what will please you even more is that you don’t have to pay a fortune for it.
STEP 1. Define Your Project Scope & Ideal Audience

It is important to understand here that not everyone can become your client. To better define your brand and attract the proper audience, study the following points:
- Why are you doing this website (pleasure, work, photos services)
- Describe your perfect client
- What are his/her values?
- What communication style does he/she prefer?
- What is of most interest to your client in terms of photography or other services you offer?
- What is the identity of your brand?
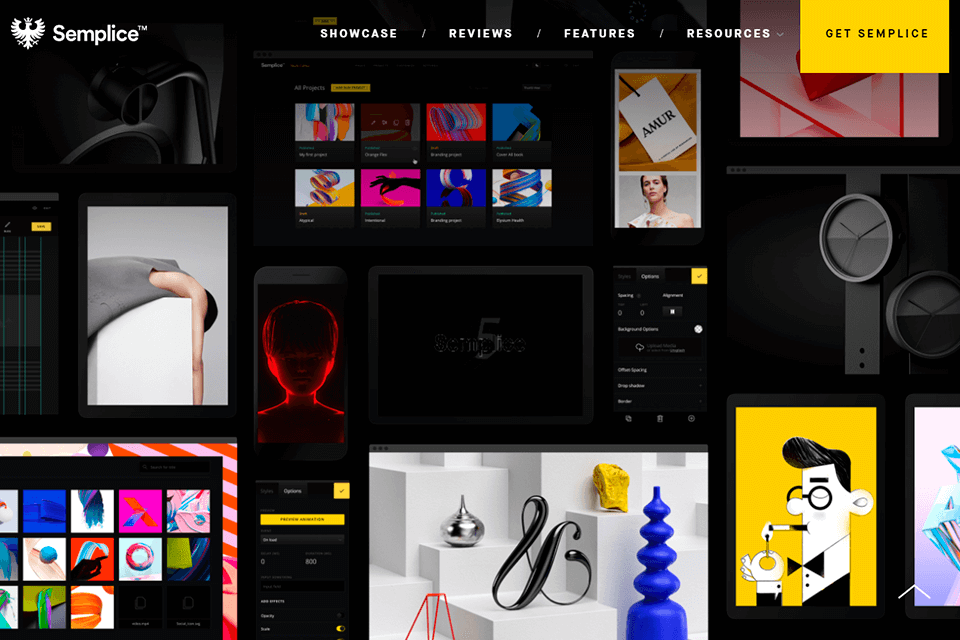
- You should also consider other websites that you draw inspiration from and understand why you chose them.
By thinking carefully about the above points, you will understand where and how you should move forward to create photography website and build effective communication.
STEP 2. Think of a Memorable and Simple Domain Name
The first step to making a photography site is going to be fairly simple (but quite challenging at the same time). You need to come up with a website name.
Luckily, buying a domain name is straightforward enough, although many cool options are already unavailable. To get started, write down your ideas in a table and use the domain checker tool to see if they’re available for registration. We recommend using a Domain Checker service. Enter any site name in the search box and you will find out if the domain is available or not. If the domain name is already occupied, you can find alternatives throughout the hundreds of domain TLDs.
Consider a short and simple name. While it may be harder to find, a shorter domain name will be easier for your visitors to remember. We also recommend avoiding hyphens. Keep it simple to enter your web address to avoid problems with advertising in the future.
Pro Tip: Choose a .com domain. As the most recognizable top-level domain, a .com domain name will help you inspire more trust in your future visitors.
STEP 3. Choose a Suitable Web Hosting Service
Next, you need to find a place to host your photography website. Since you’re reading this HostStage guide right now, you don’t have to go anywhere because we have exactly what you need.
These services are 100% SEO-optimized, being built with speed and ease of use. You can follow this guide and get your photography website running in seconds. The built in CDN would also come handy to efficiently distribute your photographies to your visitors world wide. The loading time is the common bottleneck of a photography website which needs to transmit all files to the visitors. We got you covered on all of these factors on the top of this guide.
What’s more, you’ll get online customer support and 24/7 server monitoring to make sure your site is always up.
STEP 4. Choose a Platform for Your Site

There are plenty of tools you can use to build photography website, but none of them is better than WordPress. It is one of the best CMS platforms for creating a photography website. Here are just some benefits:
Easy to set up. Manual installation takes no more than 5 minutes. While on HostStage, you can install it even faster with a 1-click installation.
Huge community. WordPress gathered thousands of developers and participants around the world.
No technical knowledge is required. While coding skills can certainly help, you can make a photography website based on WordPress without even writing a single line of code.
Rich features. The built-in library of plugins and themes makes it easy to add new features and enhance your platform.
Similar platforms are Joomla and Drupal but many say they have a stepper learning curve and significantly less choice when it comes to extensions and templates. Therefore, we highly recommend trying WordPress first.
Pro Tip: We recommend you add some basic features that you can do by installing WordPress plugins. Here are some of the best ones you should use: Yoast SEO (SEO customization: from sitemaps and canonical addresses to meta titles and descriptions), Envira Gallery (WordPress photo gallery), TinyPNG (for image compression).
STEP 5. Consider the Structure of Your Website
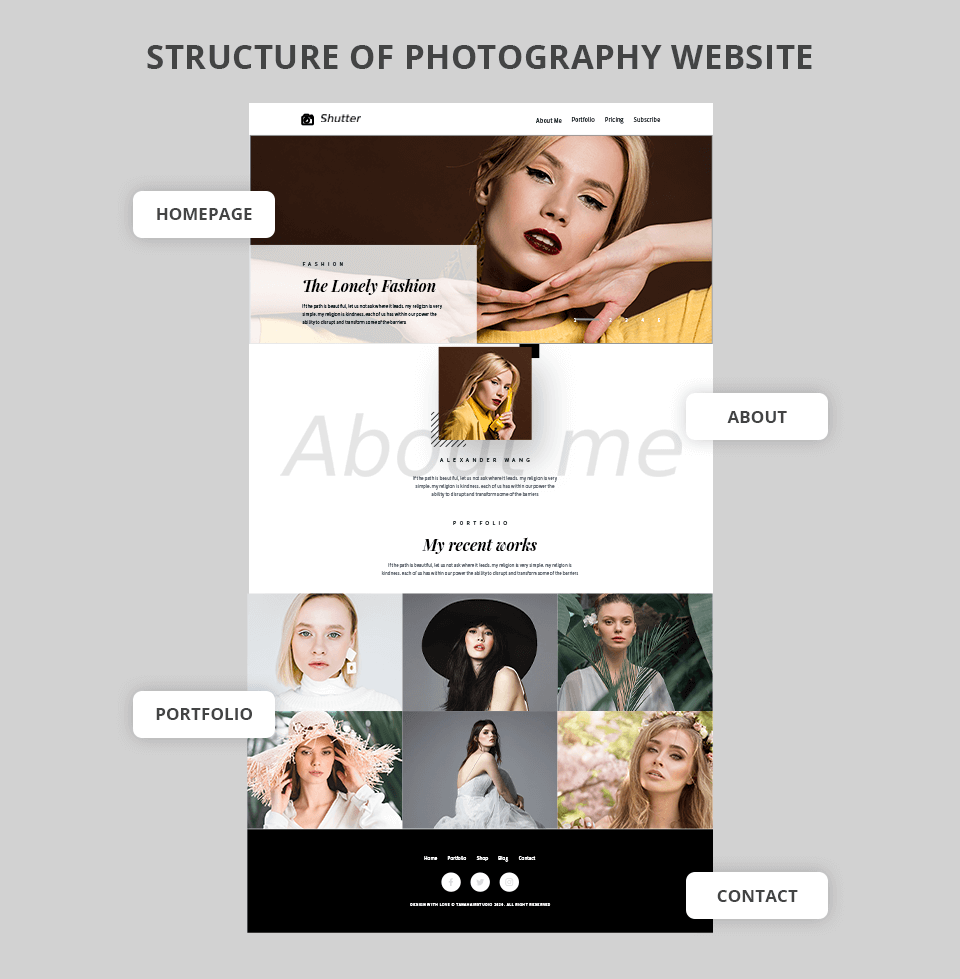
At this stage, you will need to determine the sitemap or future pages of your site, in other words. If you haven’t yet decided which ones they will be, here are some examples:
Homepage / Portfolio / Blog / About / Pricing / Contact
If you are in the photography business for quite a long time, take a closer look at more advanced pages:
Homepage / Portfolio / Blog / About / The Experience / Pricing / Reviews / Contact
Pro Tip: You can go a little deeper at this stage. Sketch future pages using rectangular shapes for illustrations and simple lines for a text block. Thus, you will have an idea about your site and will understand what kind of content you need.
STEP 6. Take Care of Your Photo Quality

Wondering how to create a photography website that will capture the attention of clients and demonstrate your skills in the best way? You don’t need to do as much as it may seem at first glance. Use several of your best shots, and remember, they don’t have to be many, but they have to be perfect!
If you prefer a top slider for your page, we recommend that you submit no more than 8 of your best works. The same principle should be applied to image galleries and blog posts. It is unlikely that you will find a user who will be happy to scroll through 200+ photos. To show all your artfulness and approach to work, small collections of approximately 25 images are enough.
We recommend using pro-grade image post production services to make sure your pictures look flawless. After all, if you are a professional photographer, you know how difficult and wearisome image enhancement can be. Such companies edit photos like a pro and in a quick way.
Pro Tip: I advise beginners to create pages with selected pictures from different photoshoots, and subsequently replenish the galleries with new works.
STEP 7. Use Only Web-Friendly Pictures
Large images can negatively affect the loading speed of your website, which, in turn, affects SEO and Google rankings. To create photography website with images that fit perfectly, follow the tips below:
- The resolution of images for web publication must be 72 dpi
- Its width must be no more than 2400 pixels (the height must be determined following the image ratio)
- Use JPEG photos. PNG should only be used with a transparent background
- Remember image optimization. Use one of the relevant services – JPEGmini, TinyPNG
Pro Tip: The file name must contain keywords, i.e. include a description and location, for example, “ann-young-photographer-landscape-california”. Thus, it will increase the possibility of finding you on the net.
STEP 8. Use Clear and Simple Wording
Write in simple and understandable language. This applies to both headings and text blocks. Imagine that when writing a text, you are talking directly to a client. This will make it easier for you to create not overloaded, but informative text.
Communicate in the same style that you have chosen to communicate with your perfect client. This will keep your speech consistent and uncomplicated. As a rule, users only need to look at a website for a few seconds, after which they understand whether they will continue to view it or not. Express your thoughts simply and clearly. Thus, you will make visitors feel comfortable.
STEP 9. Create a Unique Color Scheme
According to Statista research, website design accounts for 75% of user trust. Any photographer wants to demonstrate all his/her skills in the pictures, but the design of a site should correspond to the photography quality to the full. Moreover, the website design should reflect your uniqueness and identity, and be recognizable.
Color trends are unpredictable and controversial. Discussions about which shades are now in trend – pastel, suitable for everyone, or bright and flashy – are everlasting. However, no one will argue that a color palette is also a tool of brand identity, which should be carefully considered.
To make a photography website unique, do some analysis. Look at your site – have you already seen something similar? Can you change anything to make a site look fresher and more eye-pleasing? Then study the sites of competitors. Think about what makes you different from them.
Rebooting your brand will have a positive effect on the creation of new content that will emphasize your personality. We have prepared some examples of suitable color palettes for websites that can inspire you.
STEP 10. Develop an Adaptive Design for Smartphones
The need for responsiveness is becoming more and more urgent in our time. This happened because Google introduced penalties for sites that developers did not optimize for smartphones. However, apart from Google’s rules, you need to do this to grow your client base.
When creating a responsive website design, it is important to respect the layout dimensions and general website layout standards. Create standard resolutions that make it possible to save designs and display them properly on any device. General rules for different devices:
- smartphones – 320px, 480px
- tablet computers – 768px
- mini-laptops with some tablets – 1024px
- PC – 1280px and more.
STEP 11. Integrate with Social Media
Staying active in the community is a great way to build trust and brand awareness. If you don’t have social media accounts, it’s important to start right away. Sign up on Facebook, Instagram, and Twitter to start expanding your loyal audience.
In addition, you can integrate your photography site and social media profiles with such plugins as Super Socializer and Blog2Social (for automatic article sharing). Since your goal is to have as many interactions as possible, this is a step in the right direction!
STEP 12. Speed Up Your Website to Increase Performance
Site speed has always been an important ranking and performance factor not only for the almighty Google but also for your visitors. More than 50% of visitors will leave your site if it takes more than 3 seconds to load. This alone is more than enough to dedicate some time to optimization.
Here are our top recommendations on how to create a photography website rapid-fire:
Use cache. Cache refers to temporary storage that allows you to bypass PHP requests, which greatly speeds up the loading of your pages. To get the best results, you should install a caching plugin and use browser caching.
Take image optimization seriously. Since you will have a lot of images, make sure they are of the correct size and compressed with a tool like TinyPNG.
Implement CDN. Content delivery networks will improve speed and responsiveness by offering resources from the location closest to your visitor. One of the best solutions is CloudFlare.
Run speed tests. If you want to know how fast your site is, use tools like GTMetrix or Google’s PageSpeed Insights.


