")
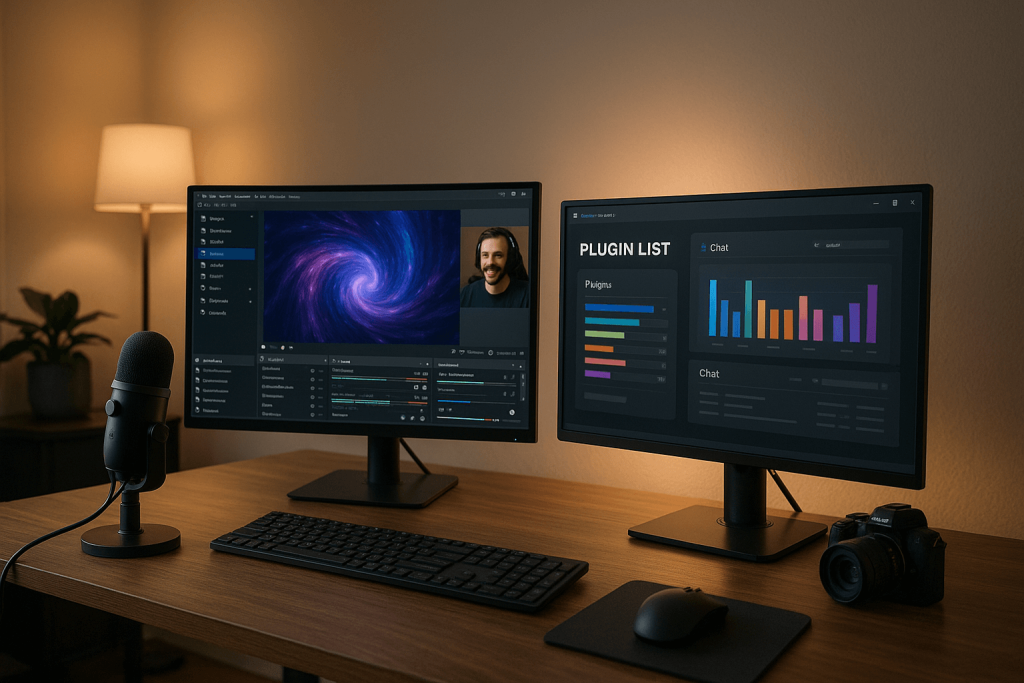
The Ultimate OBS Plugin List for Streamers (2026 Edition)
OBS Studio is powerful on its own, but plugins can transform your streaming experience by adding advanced features, automation, and visual effects. This guide highlights the best OBS plugins for 2025, covering tools for performance, workflow automation, and enhanced visuals. Whether you’re looking to optimize encoding, automate scene switching, or create professional transitions, these plugins can help you achieve your goals.
Key Highlights:
- Performance Boosters: Plugins like StreamFX and OBS Shaderfilter Plus improve visual quality while reducing system strain.
- Automation Tools: Advanced Scene Switcher and Triggerfyre simplify scene management and enable interactive features.
- Visual Enhancements: Move Transition and ShaderFilter create smooth transitions and cinematic effects.
- Audio & Analytics: Tuna and Audio Monitor improve sound management, while OBS Stats Dock tracks stream performance in real time.
- Safe Installation Tips: Always back up profiles, test plugins in a separate environment, and monitor system performance.
Quick Comparison:
| Plugin Name | Purpose | Compatibility | Key Feature |
|---|---|---|---|
| StreamFX | Visual effects & encoding | Windows/macOS/Linux | GPU-powered effects like blur & glow |
| Advanced Scene Switcher | Scene automation | All platforms | Auto-switching based on triggers |
| Move Transition | Scene transitions | All platforms | Smooth, animated scene changes |
| Tuna | Music display | All platforms | Real-time “Now Playing” info |
| Audio Monitor | Audio routing & preview | All platforms | Real-time mix monitoring |
For resource-heavy setups, consider offloading tasks to a VPS for smoother performance. This approach helps balance system load when running multiple plugins.
How to Choose and Install OBS Plugins Safely
When it comes to enhancing your OBS setup with plugins, safety and stability should always be top priorities. A careful installation process ensures your system remains reliable while unlocking powerful new features. Rushing or skipping precautions, on the other hand, can lead to crashes or other headaches. Think of installing plugins as you would updating critical software – take your time, double-check everything, and have a backup plan.
Plugin Installation Best Practices
Start with a backup. Before making any changes, export your current OBS profile and scene collections. This is as simple as navigating to Profile > Export and Scene Collection > Export in OBS Studio. Save these files in a folder labeled with today’s date so you can easily restore your setup if something goes wrong.
Stick to trusted sources. Always download plugins from reliable locations like the official OBS Studio Plugin Directory or well-known GitHub repositories. Third-party websites can sometimes bundle outdated or even harmful code, so it’s better to play it safe.
Check compatibility before you download. Plugins are not one-size-fits-all. Make sure the plugin you’re eyeing is compatible with your OBS version and operating system. For instance, a plugin designed for OBS 28.x might not work with OBS 30.x. Also, confirm whether your system is 64-bit, as most modern plugins require it.
Test in a separate profile. Avoid risking your main configuration by testing new plugins in a dedicated profile. You can create one by going to Profile > New and naming it something like “Plugin Testing.” This sandbox environment lets you safely experiment without affecting your primary setup.
Monitor system performance. When you first start using a new plugin, keep an eye on your system’s resource usage. Open Task Manager (Windows) or Activity Monitor (macOS) during your test streams to watch for unusual CPU or memory spikes. Sometimes, plugins that work fine on their own can conflict with others, so stay alert.
If a plugin causes issues like crashes or erratic behavior, removing it is simple. Close OBS, then delete the plugin’s folders from the ‘obs-plugins’ and ‘data’ directories in your OBS installation folder. Restart OBS, and the problematic plugin will no longer affect your system.
OBS Plugin Compatibility Table
The table below can help you quickly determine which plugins are compatible with your platform and OBS version. This saves you time and frustration when setting up your system.
| Plugin Name | Windows | macOS | Linux | OBS 30.x+ | Notes |
|---|---|---|---|---|---|
| StreamFX | ✅ | ✅ | ✅ | ✅ | Cross-platform, actively maintained |
| Move Transition | ✅ | ✅ | ✅ | ✅ | Works seamlessly on all platforms |
| Advanced Scene Switcher | ✅ | ✅ | ✅ | ✅ | Auto-installers available for all OS |
| Source Clone | ✅ | ✅ | ✅ | ✅ | Universal compatibility |
| Aitum Multistreaming | ✅ | ❌ | ❌ | ✅ | Windows-only limitation |
| Background Removal | ✅ | ✅ | ✅ | ✅ | GPU acceleration varies by platform |
| Source Dock | ✅ | ✅ | ✅ | ✅ | Available across all platforms |
Windows users enjoy the broadest plugin selection, including exclusive options like Aitum Multistreaming. macOS and Linux users can still access most popular plugins but should double-check for any platform-specific limitations.
Keep in mind that most plugins require a 64-bit system. If you’re running a 32-bit setup, your options will be severely limited. Additionally, OBS 30.x and newer versions are the standard for plugin compatibility. While older versions like OBS 28.x or 29.x may work with some plugins, you’ll likely encounter more issues and miss out on performance improvements. Keeping OBS updated ensures the smoothest experience and the widest range of plugin options.
Performance and Encoding Plugins
If you’ve ever dealt with dropped frames or pixelation during a stream, chances are the issue lies with OBS’s workload rather than your internet connection. These performance-focused plugins can help tackle those challenges by improving visual quality and reducing system strain, all while offering more flexibility in your setup.
StreamFX
StreamFX is a must-have plugin for streamers looking to elevate their visuals. It introduces a variety of special effects, including glow, blur, and shadow features, allowing you to fine-tune your presentation. One standout feature is its Stroke Glow Shadow, which gives you precise control over webcam borders and text overlays, helping you achieve a polished, professional look.
OBS Shaderfilter Plus
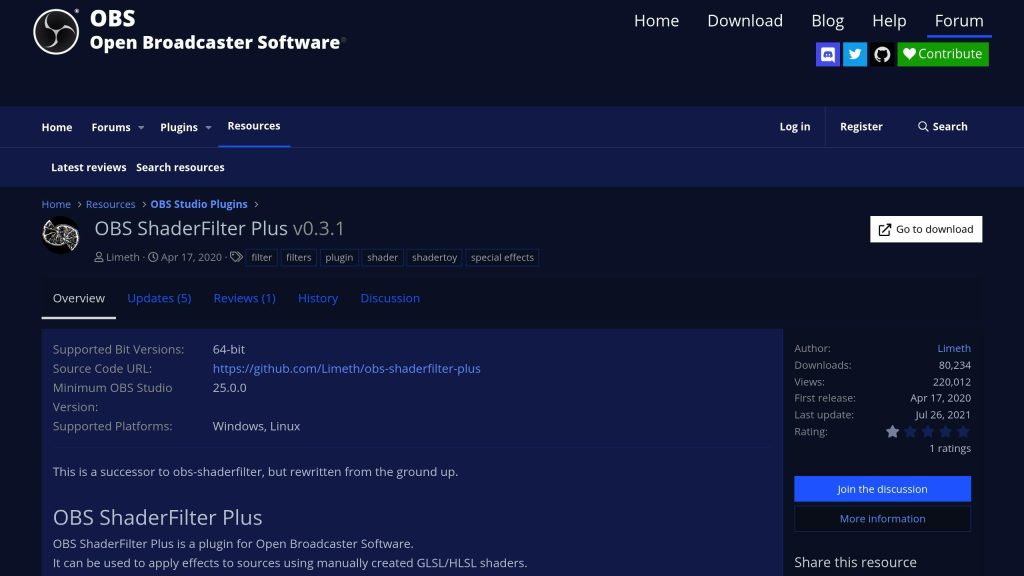
While StreamFX adds visual flair, OBS Shaderfilter Plus focuses on delivering GPU-based effects that won’t overload your CPU. This plugin opens the door to custom shader programming, but you don’t need coding knowledge to get started. It comes with a library of pre-built effects, like film grain, color grading, and vignetting, that can add depth and atmosphere to your stream. Streamers often use its gradient overlays and distortion effects for smooth scene transitions or to maintain consistent branding. If you’re using a green screen, its advanced edge refinement can clean up chromakey artifacts in real time, ensuring a sharp and professional output.
Source Record
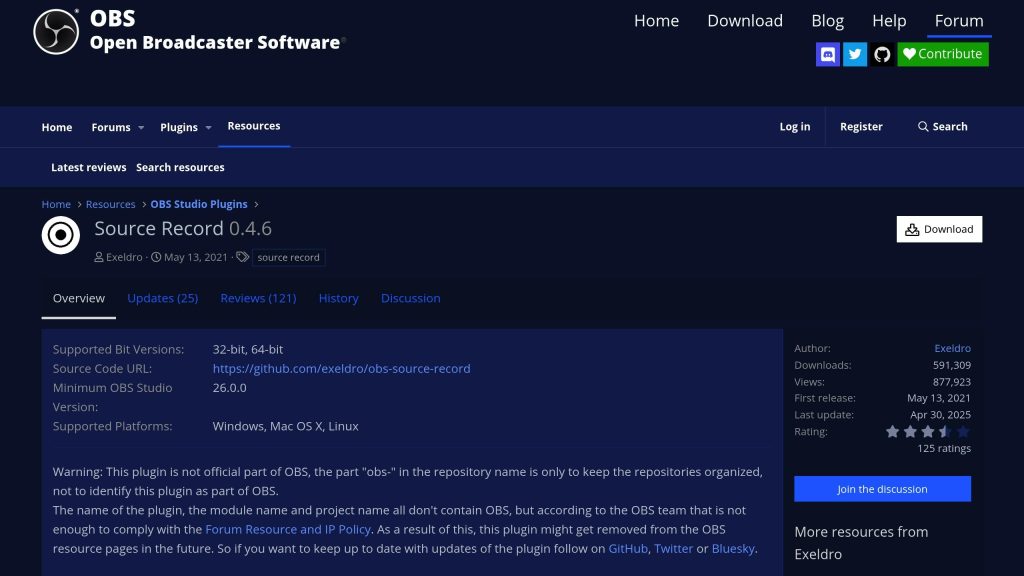
Source Record solves a common challenge for streamers: capturing individual elements of your stream separately. Unlike OBS’s default recording setup, this plugin allows you to record specific sources – like your webcam, game footage, or microphone audio – into separate files while streaming live. This parallel recording feature is perfect for creating multi-angle edits, flexible post-production workflows, or even keeping reliable local backups of your stream.
If you’re pushing your system to its limits, stay tuned to see how a VPS relay can help stabilize your encoding process even further.
Automation and Workflow Plugins
Automation plugins take the hassle out of managing scenes and transitions manually, letting you focus on what really matters – your content. Let’s take a closer look at two standout tools that simplify your workflow.
Advanced Scene Switcher
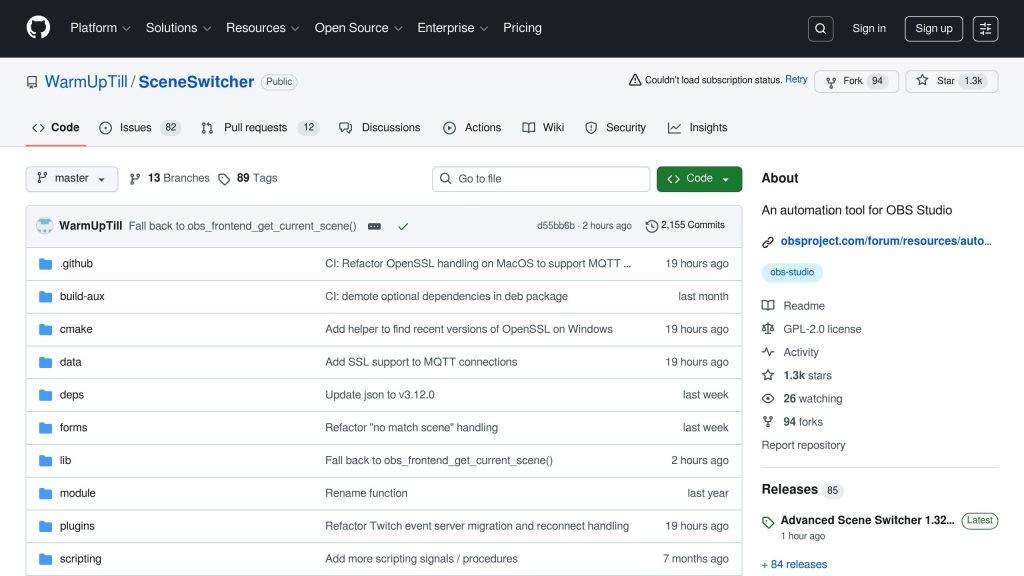
Advanced Scene Switcher transforms OBS into a smart, automated streaming assistant that adapts to your workflow. It can automatically switch scenes based on actions like alt-tabbing or opening specific apps. This not only saves time but also reduces system load, aligning perfectly with performance optimization goals.
What sets this plugin apart is its macro system, which allows you to create detailed workflows with multiple triggers and actions. For instance, if your setup detects inactivity for five minutes, it can seamlessly switch to a waiting screen, mute your mic, and pause your music. Educational streamers often use it to automatically move between slides by tracking the active window.
Another handy feature is window detection, ideal for multitasking streamers. If you’re managing Discord during a stream, the plugin can detect when you’re typing and temporarily switch to a scene that conceals sensitive information. This safeguards against accidental leaks of private messages or personal details while broadcasting live.
The plugin also supports chat-driven and remote controls, adding even more flexibility to your automation setup.
Triggerfyre and WebSocket Automation
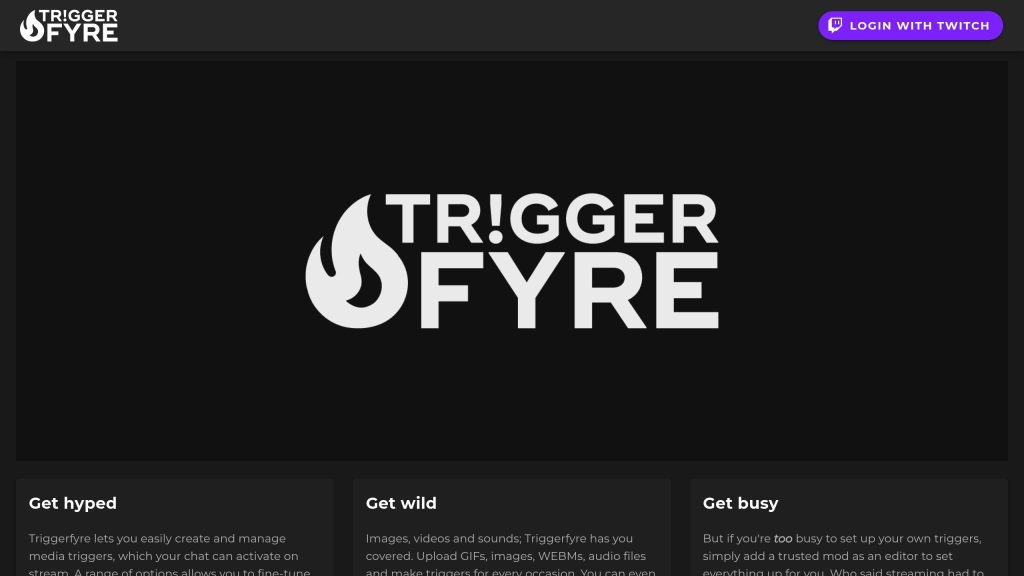
Triggerfyre connects chat commands directly to OBS actions. By linking to your streaming platform’s chat system, it allows you to trigger preconfigured OBS commands based on specific keywords. For example, a viewer typing “!lights” in chat can prompt Triggerfyre to dim the scene or toggle certain sources on and off.
This plugin shines when it comes to creating interactive moments during streams. Many streamers use Triggerfyre to let their audience control elements like background music, camera angles, or sound effects. You can even set up subscriber-only commands that unlock exclusive scenes or effects, enhancing engagement while adding value to your monetization efforts.
WebSocket automation takes this a step further by enabling remote control through OBS’s WebSocket protocol. This lets you connect external devices – like Stream Decks, mobile apps, or custom web dashboards – to manage your stream remotely.
However, running complex automation setups can put a strain on your system. WebSocket connections and intricate trigger systems can eat into CPU resources, potentially affecting stream quality. One solution is offloading these processes to a VPS. By separating your local OBS setup from the automation logic, you ensure smooth performance, avoiding dropped frames or interruptions during your broadcast.
Visual Effects and Transition Plugins
Improving your stream’s visuals is just as important as fine-tuning performance and automation. A polished visual experience keeps viewers engaged and adds a professional touch to your content. Visual effects plugins can transform basic OBS transitions into cinematic moments, all without the need for expensive production tools.
Move Transition
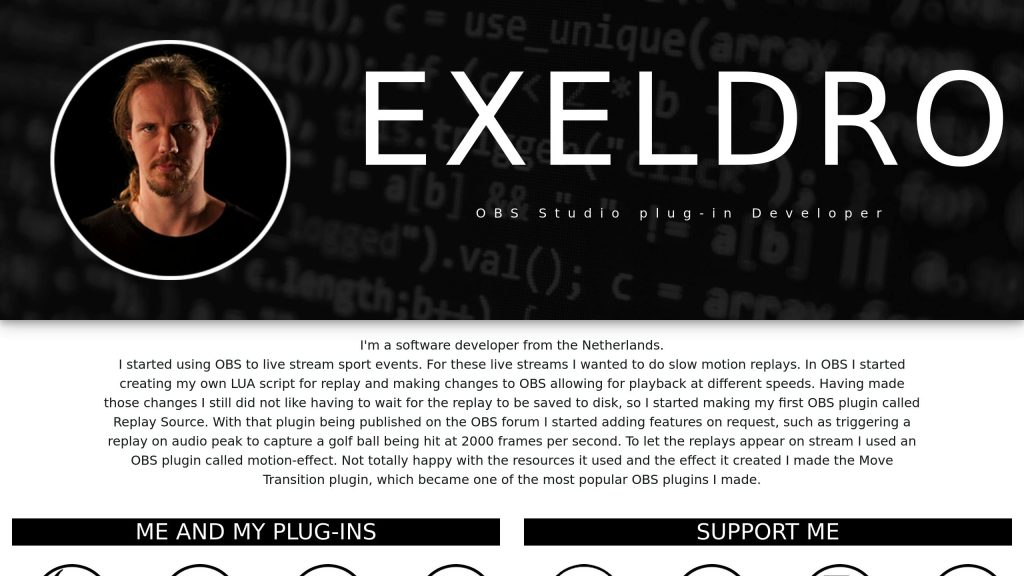
Move Transition, developed by Exeldro, is one of the most popular transition plugins for OBS – and for good reason. This free tool allows for smooth, animated transitions between scenes, giving your stream a dynamic and polished look.
The plugin shines when it comes to creating fluid camera movements and scene transitions. Whether you want to add smooth zooms, pans, or rotations, Move Transition makes it easy to give your stream a more engaging feel. For best results, set transition times between 500-1000 milliseconds for quick, snappy effects, or extend to 1500-2000 milliseconds for a slower, more cinematic vibe.
Its easing functions – such as Ease In, Ease Out, or Ease In-Out – help create natural, seamless motion that avoids abrupt changes.
Customization is where this plugin truly stands out. You can tweak positioning, rotation, and scaling for individual sources like overlays, text, or webcam feeds. Imagine your webcam smoothly sliding across the screen while rotating and resizing – this level of control allows for creative, visually compelling moments.
“This plugin should literally just be part of OBS at this point. It is more powerful than I know how to properly describe. The amount of control it brings to your fingertips cannot be overstated.” – Shredcase, User Review
That said, some users have reported minor compatibility issues. For instance, there have been occasional problems with the zoom function when paired with fade transitions, and some have noted conflicts with specific fade effects. Despite these hiccups, most streamers find simple workarounds to keep the plugin running effectively.
For smooth performance, keep transition durations reasonable, turn off unnecessary animations when not in use, and close background apps during intense streaming sessions. Keep in mind that Move Transition can be GPU-intensive, particularly when managing multiple animated sources at the same time.
Next up, let’s look at how ShaderFilter plugins can take your visuals to the next level.
ShaderFilter and Motion Effects
ShaderFilter plugins open the door to real-time visual effects, offering tools like gradient overlays, glow effects, and subtle animations – all without requiring expensive production software. These GPU-powered effects can enhance your stream’s visual appeal without overshadowing your content.
One of the plugin’s standout features is its ability to create gradient overlays, which allow for smooth color transitions across scenes or specific elements. This can add mood lighting or depth to your visuals. Glow effects, on the other hand, are perfect for highlighting key elements like notifications or alerts, responding instantly to scene changes. Motion effects breathe life into static visuals by adding gentle pulsing text, gradual background color shifts, or soft breathing effects to overlays – drawing attention without overwhelming viewers.
However, ShaderFilter plugins are GPU-dependent, which means more complex effects can put a strain on your graphics card. If you’re using an older system, this could lead to frame drops or overheating. To avoid performance issues, monitor your GPU usage and dial back the intensity of effects if needed.
For those dealing with heavy shader setups, consider offloading some of the processing to a VPS. This can help maintain smooth local performance, ensuring your stream runs without a hitch.
Music, Audio, and Analytics Plugins
When it comes to professional streaming, visuals and automation often steal the spotlight. But if you want to elevate your stream, don’t overlook the importance of audio quality and performance analytics. These elements can shape your audience’s experience in ways you might not immediately notice. With the right plugins, you can showcase your music, manage complex audio setups, and track your stream’s performance – all without disrupting your creative process.
Tuna
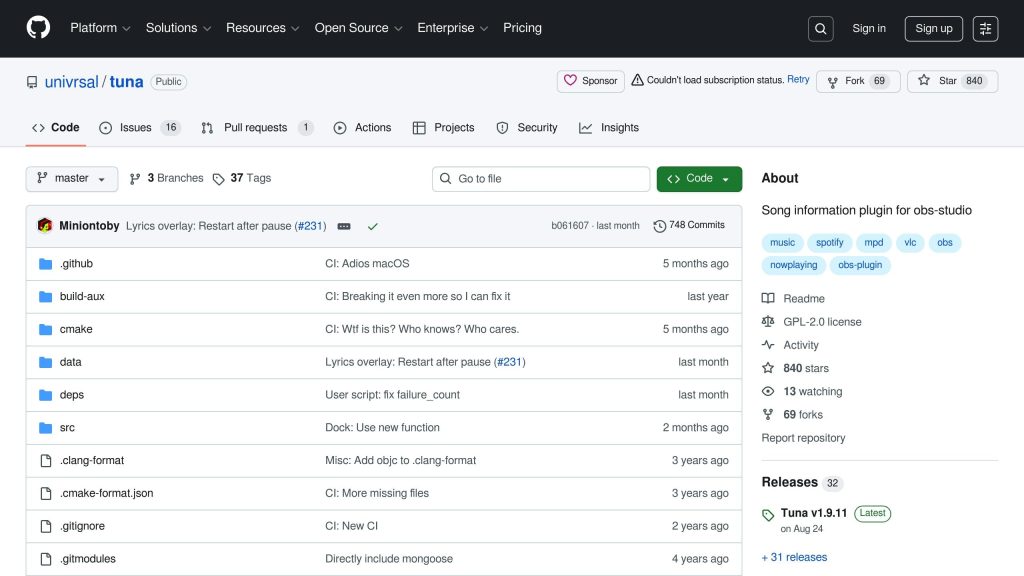
Tuna is a free OBS plugin that adds a polished touch to your stream by displaying real-time “now playing” information. It works with popular platforms like Spotify, YouTube, VLC, SoundCloud, Last.fm, and Google Play Music. This plugin not only shows the song title but also includes album artwork, giving your stream a sleek, professional vibe.
Setting up Tuna is straightforward. You can customize fonts and positioning, and the plugin automatically updates the display with each track change. However, keep in mind that streaming licensed music can lead to muted VODs or copyright strikes on platforms like Twitch and YouTube. Many streamers stick to copyright-free music to avoid these headaches.
Audio Monitor
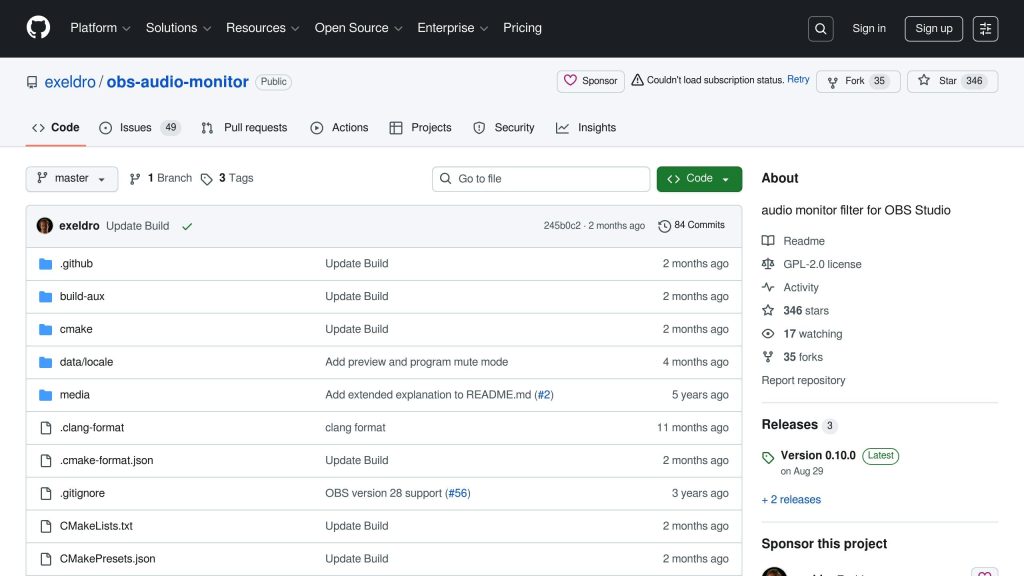
Managing multiple live audio sources can get tricky, but Audio Monitor simplifies the process. This OBS plugin provides real-time audio routing and preview features, so you can ensure your audience hears exactly what you intend.
One standout feature is its preview function, which lets you hear the mix your viewers are getting. This is especially helpful when juggling multiple inputs like microphones, game audio, background music, and alert sounds. You can even route specific audio sources to different outputs. For example, you might send one mix to your headphones while your audience hears another, helping you avoid feedback and maintain a balanced sound.
Audio Monitor also provides level meters for visual feedback, making it easy to adjust audio sources on the fly. Whether you need to lower game audio while speaking or tweak music levels during an intense moment, this plugin ensures everything stays balanced.
OBS Stats Dock and Stream Monitor
Keeping tabs on your stream’s technical performance in real time can mean the difference between a smooth broadcast and a frustrating one. The OBS Stats on Stream Lua script is a powerful tool that provides detailed analytics to help you spot and resolve issues before they affect your stream.
This script displays essential metrics like FPS, bitrate, dropped frames, and CPU/memory usage. With these stats visible, you can quickly make adjustments if performance starts to dip.
Installing the script is simple. After downloading and unzipping it, add a text source to your scene and head to Tools → Scripts in OBS to configure its settings. You can set the update interval (usually 1000ms for a one-second refresh rate) and customize the text formatting to match your stream’s style.
Streamers appreciate how reliable and flexible this script is. You can choose to display the stats directly on your stream for transparency or keep them visible only within OBS for personal monitoring. Either way, having real-time feedback helps you diagnose problems quickly. For instance, if you notice a spike in dropped frames, you can immediately check for potential causes like network congestion, encoding issues, or system bottlenecks.
The script is also a great tool for testing new plugins or tweaking your system settings. By monitoring performance metrics, you can make informed decisions about which configurations work best for different types of content.
Using VPS for Heavy Plugin Setups

When dealing with resource-heavy plugins, using a VPS (Virtual Private Server) can be a game-changer. As your plugin setup expands, your system might struggle with increased CPU usage or experience dropped frames. A VPS can take over demanding tasks like encoding, easing the burden on your local machine and ensuring smoother performance. Let’s break down how a VPS can help redistribute your system’s workload for a more reliable streaming experience.
How VPS Relays Boost Performance
A VPS can handle tasks like encoding and transcoding remotely, leaving your local setup free to focus on capturing content and running plugins. This setup often results in steadier performance, especially when you’re using multiple plugins for visual effects or automation.
Typically, the process involves streaming from OBS to your VPS using protocols like SRT. The VPS then handles encoding and sends the stream to platforms like Twitch or YouTube. The exact setup will vary based on your specific needs, so it’s essential to configure OBS correctly for your VPS and thoroughly test the setup to see the performance gains.
Advantages of Using a VPS for Streaming
Pairing a VPS with your streaming setup offers several benefits, especially when running high-demand plugins:
- Lowers local CPU usage, ensuring smoother operation for plugins like StreamFX or ShaderFilter.
- Improves network stability, even during periods of intense processing.
- Scales with your needs, offering flexible resources without requiring expensive local hardware upgrades.
- Stabilizes bitrate, reducing the risk of bandwidth spikes that could disrupt your stream.
Switching to a VPS-based setup takes some effort. You’ll need to assess your current system, configure and test new settings, and monitor the results. But with the right adjustments, a VPS can significantly enhance your streaming experience, especially if your setup relies on resource-heavy plugins.
Conclusion: Build Your Setup Smartly
The right OBS plugins can take your streaming setup from ordinary to professional. But success lies in how you implement them – whether it’s using StreamFX for advanced encoding or relying on Advanced Scene Switcher to automate your workflow.
Once you’ve chosen the plugins that suit your needs, prioritize a safe installation process. Always back up your OBS profiles and test new plugins in a controlled environment before fully integrating them. Keep an eye on your system’s performance to catch and resolve any issues early.
When your local resources hit their limit, offloading tasks becomes a practical solution. Instead of investing in costly hardware upgrades or removing useful plugins, a VPS can take over the heavy lifting. For example, OBS streams to a VPS using SRT, the VPS handles the encoding, and then streams to platforms like Twitch or YouTube. This setup keeps your local resources free while maintaining a consistent bitrate and smooth performance.
Your streaming tools should work for you, not against you. Start with essentials like StreamFX for better encoding and Advanced Scene Switcher for automation. Add new plugins one at a time, testing thoroughly to ensure everything runs smoothly. Keep an eye on performance metrics and make adjustments as needed.


